If you are reading this guide to Havasupai because you’ve secured a permit to visit the magical Havauspai, you have come to the right place. Also, CONGRATULATIONS!!!!!! That fateful February 1st morning when permits go on sale is definitely the bane of my existence. So, congratulation for making it out alive. I promise this will be a trip of a lifetime (watch our own adventures here!). If you’re reading this because you’re simply interested, you have also come to the right place. In this guide, not only will we talk about gear needed for the trip, but also tips, FAQ’s, and the history of the tribe. For your convenience, I will link the gear that I have and love, to give you a starting off point.
History of Havasupai
I think it is so important to understand the history of Havasupai in order to really appreciate the land and treat it with the respect it deserves. Havasupai, Havasu meaning “blue-green water” and pai meaning “people,” is a remote village deep in the Grand Canyon. It is not accessible by road and only accessed with a permit for non tribal members. Havasupai is considered one of America’s most remote Indian Reservation.
For centuries before the arrival of non-indians, the Havasupai lived, farmed, and hunted throughout their traditional territory. In the spring and summer, they farmed in the canyons and in the fall and winter, they moved to the plateau lands. But in the 1870s, with increasing numbers of non-indian miners, ranchers and settlers arriving, the Havasupai were confined more and more to smaller lands. In 1882, President Chester Arthur restricted the tribe to 518 acres through an Executive Order and the rest of their ancestral lands were taken by the Federal Government for public use.
It wasn’t until 1968 that the tribe won their case against the government: the ruling stated that the lands had been taken illegally and that the tribes “had the right to recover the lands by paying the government fair market value for the property.” The value of the lands at the time was around $1,000,000. Yep. You read that right. The government wanted the Havasupai people to pay $1,000,000 to recover their own land! Fast forward to 1975, congress finally passed the Grand Canyon National Park Enlargement Act, which returned 188,077 acres to the Havasupai. This is the land that currently makes up the reservation today.
Tips for securing a Permit
- Havasupai is only accessible with a permit. Permits go on sale February 1st at 8am MST on the Havasupai Reservation website. If you have not already done so, make an account NOW!!! Be logged in and ready to go before permits go on sale. Have your first pick of dates, second pick, third pick, and your “I’m literally going to take whatever I find” dates. Reservations are in such high demand so please do not be picky or else you might miss out on a permit. Havasupai is BEAUTIFUL any time of year so you will love it no matter what.
- There is only one name on the reservation. You do not put each person in your parties name on the reservation. The person who’s name is on the reservation MUST be present at the trailhead with photo ID in order for the group to be admitted.
- There will be a “Team Leader” (the person who has their name on the reservation). Havasupai recommends each person makes an account on their website, however, so that they have everyones information in case of an emergency.
- Prices change every year (most up to date information can be found on the Havasupai website). As of 2019, reservations are $100 per person per weekday night and $125 per person per weekend night. Reservations are picked in a grouping of 4 days/3 nights so expect to pay around $300-$375 per person for your trip.


Things To Know
- Your Havasupai backpacking trip will be a 20 mile round trip hike from the Hualapai Hilltop trailhead to the campground: it is 8 miles into the Supai Village and then an additional 2 miles to the campground. This does not include distances hiked to see the waterfalls while on your trip!
- The campground is dispersed camping, meaning there are no designated/assigned campsites. During the summer months, it is best you arrive as early as possible to get a decent spot. We’ve visited twice now, once in February and once in late March, and did not have any issues finding amazing spots either time.
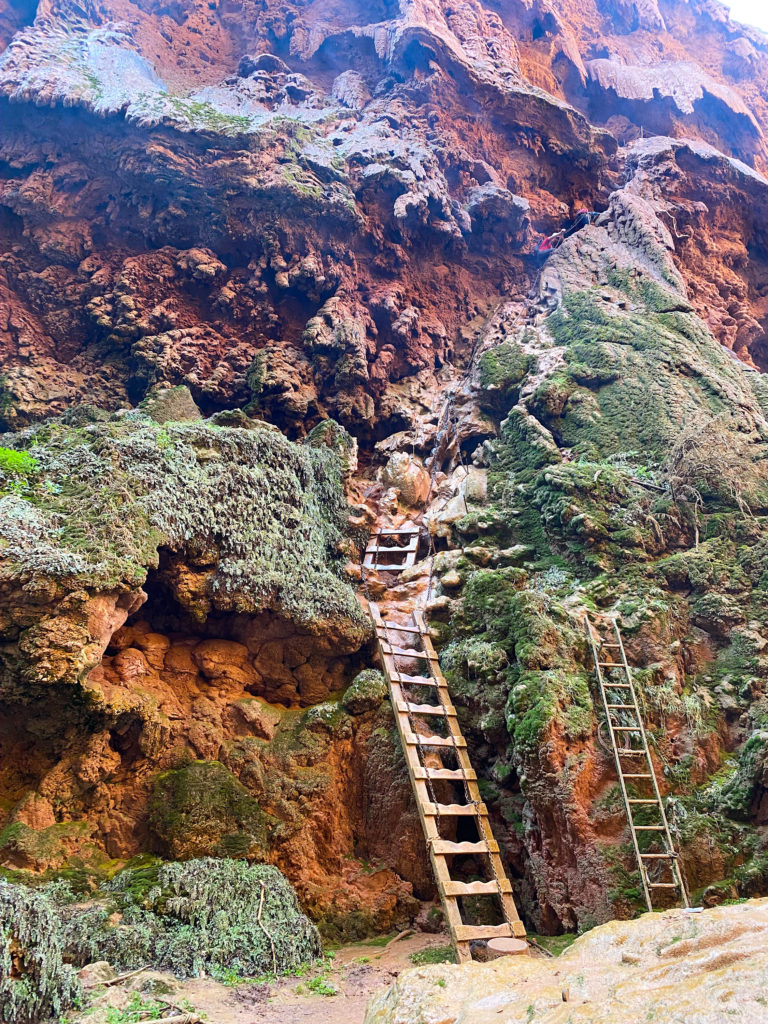
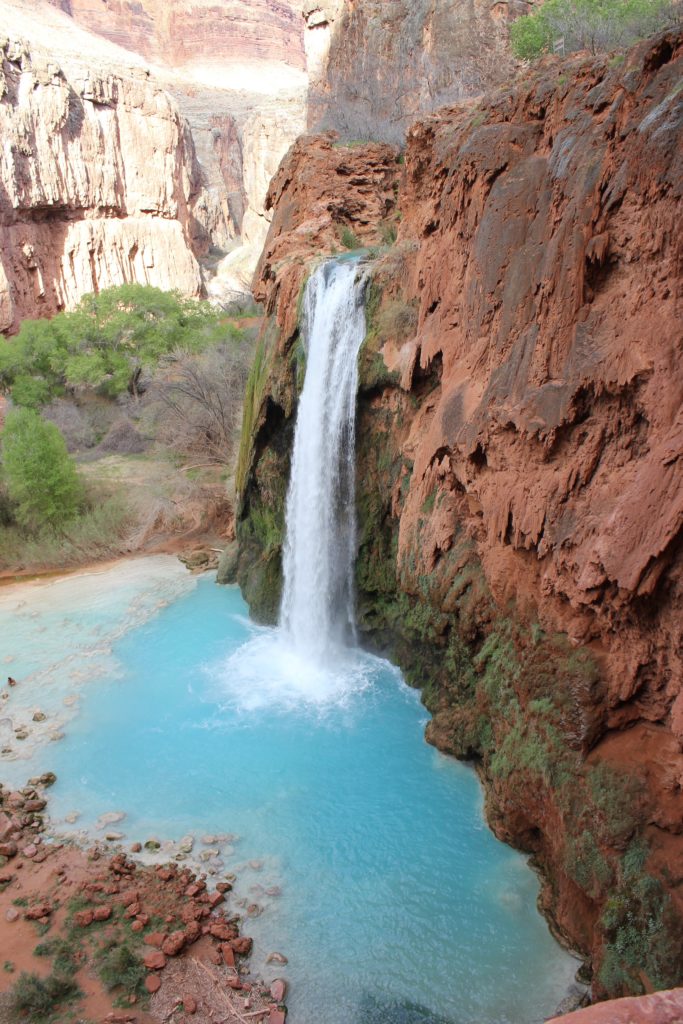
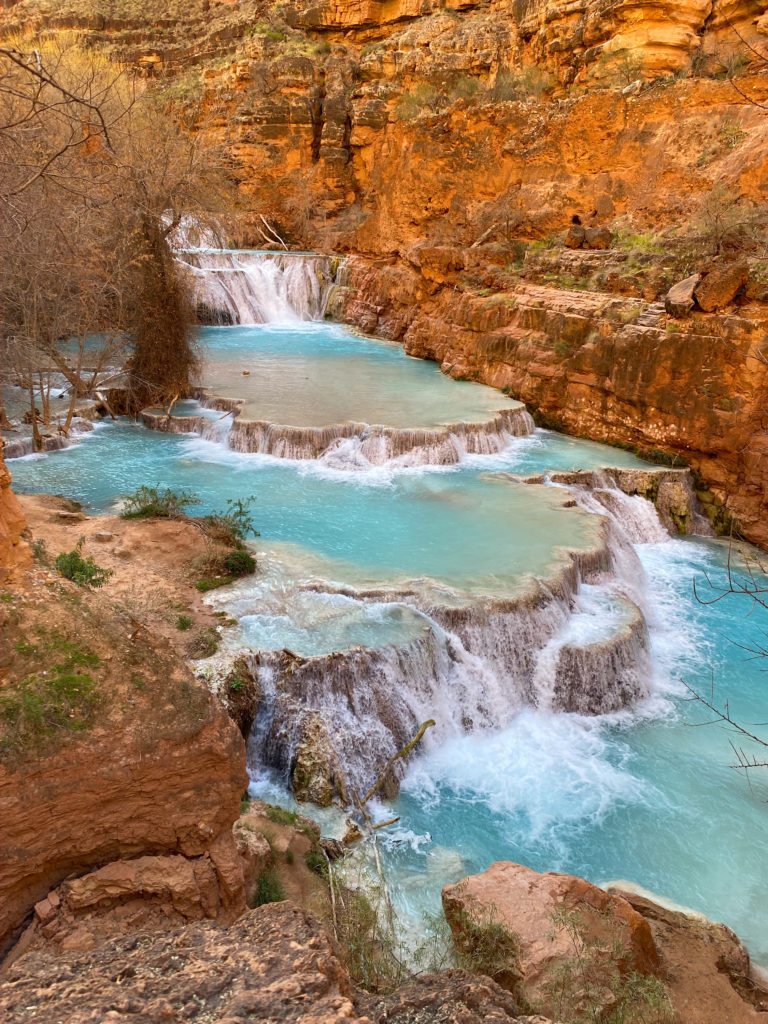
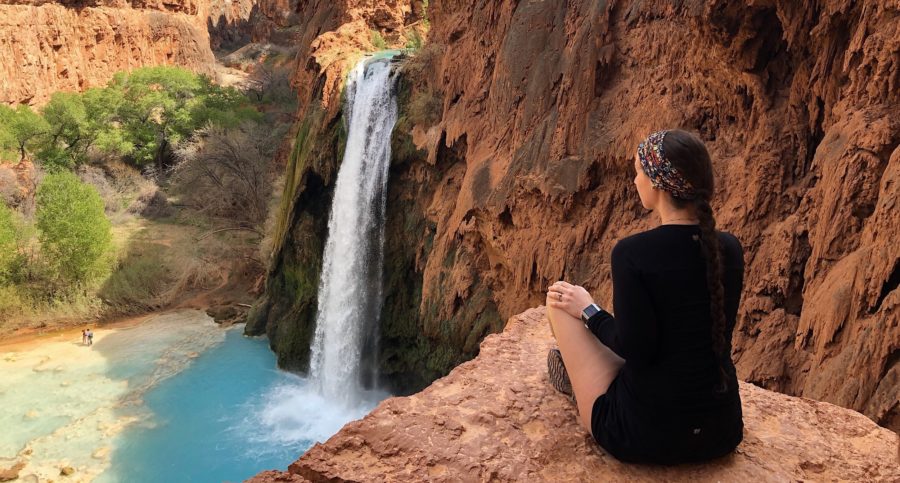
- There are 5 waterfalls in Havasupai: Fiftyfoot Falls, Navajo Falls, Havasu Falls, Mooney Falls, and Beaver Falls. Fiftyfoot Falls and Navajo Falls can be found just off the trail in between Supai Village and the campground. Havasu Falls, the most widely recognized water fall, can be found at the start of the campground. Mooney Falls can be found at the end of the campground. You can view Mooney from the top OR climb down the side of the canyon using ladders and tunnels to see the falls from the bottom. Beaver Falls is a 6 mile round trip hike from the campground. You do have to climb down Mooney to get to Beaver.
- There are multiple toilets at the campground with toilet paper provided. While the tribe does their best to keep the toilets stocked, note to the wise: bring backup just in case.

Havasu Falls 
Beaver Falls 
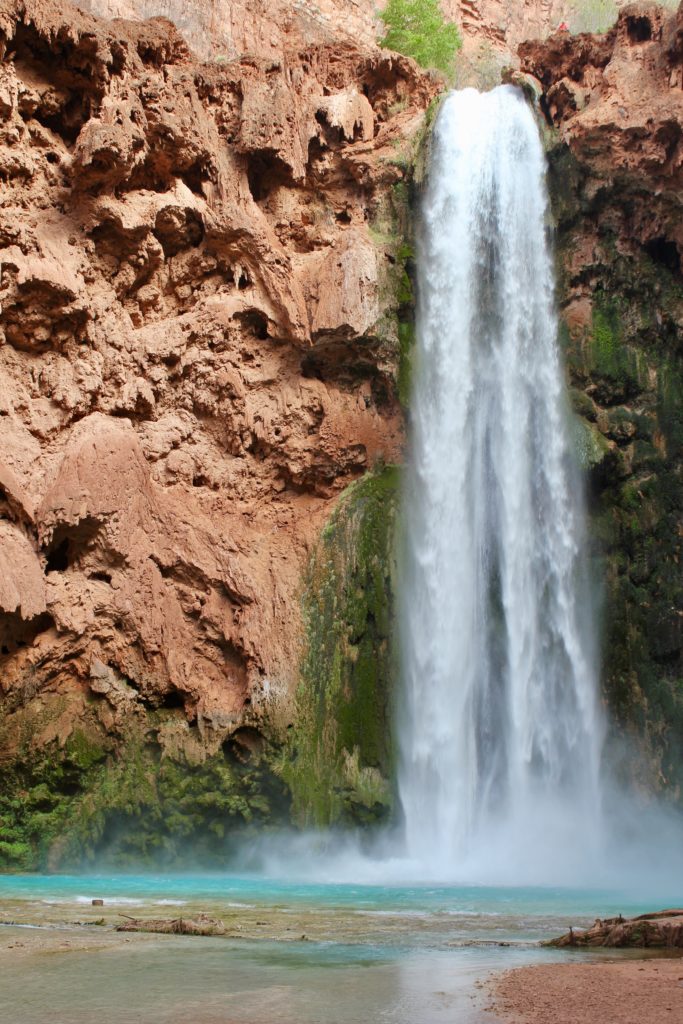
Mooney Falls
What To Pack
Camping Gear
Your camping gear will be the bulk of the gear you pack. Some things that you absolutely need:
- a backpacking pack (both of our packs are no longer sold but we LOVE Osprey packs)
- a lightweight tent
- a sleeping bag
- a sleeping pad (don’t forget an inflator if it is not self rising)
- backpacking chairs
- a headlamp
- dry bags
- first aid kit
- a power bank
Some things that are optional to pack: a hammock, locks for you tent (for safety), and an inflatable pillow.
The most important thing to remember is that you will be carrying everything in and everything out. “Lightweight” gear is going to be best. If you are new to backpacking, I would highly recommend going to your local REI and getting fitted for a pack. Any employee at REI will be able you give you amazing tips on what gear works best.
Pro tip: Did you know that you can RENT gear at REI?! It is cheaper than buying brand new and you can rent things such as a pack, sleeping bag, sleeping pad, and a tent.
Cooking Gear
- a backpacking stove with an extra fuel can
- cookware (we brought one three-in-one utensil and ONE bowl to use for drinks, food, all of the above)
- biodegradable soap (can be used for both bathing and cleaning your cookware)
- a small quick dry towel to clean gear
- a ratsack to keep your food safe from critters
- two oder bags (use one to keep unopened food in and one to pack out your trash)
- a collapsible water jug (there is a fresh fern spring that provides the drinking water for the campground)
Food
Food is such a hot topic when it comes to Havasupai. Before I went for the first time, I read blog after blog assuring that there were TWO places for food in town AND a food stand even closer to the campground. People, listen. Do not rely on these options. There are no set hours for any of these establishments. The owners can simply decide they do not want to open that day and they will not be open. The reason why this is an issue is because you will have hiked from 1-2 miles there to only find out its closed and have to hike 1-2 miles back. Personally, I did not want to rely on this so we packed in all of our food for the trip.
Here are some options that work well for backpacking trips:
- Mountain House
- Backpackers Pantry
- Good to Go
- Oatmeal for breakfast
- Crackers or pretzels
- Ramen
- Apples or oranges
- Protein bars
- My personal favorite: dried mangos (we actually ate so many on our last trip that I couldn’t eat them for months after we got back home)
Tip: Dehydrated meals will have portion sizes on the label so to save room, Brad and I would pack one meal with two servings for us to share for dinner each night.
Clothing
This clothing packing list works well for most months with some swap outs:
- 1 swimsuit
- a lightweight towel
- 2 pairs of pants or shorts depending on time of year
- 2 shirts
- 1 sweatshirt
- a lightweight jacket
- hiking boots
- hiking sandals
- 1 pair of long underwear (only for winter months)
- for the ladies: 1 sports bra
- 1 pair of underwear per day
- 1 pair of marino wool socks per day (marino wool is best to prevent blisters)
- Hat/sunglasses
Tip: the biggest thing that I learned after going to Havasupai was that I packed way too many clothes.. and I was dingy the first time around. I like to give this list to people as a starting off point. Personally, I count the clothes I wear on the hike in as clothes on this list. So, I wear my sweatshirt and lightweight jacket in. I wear my one pair of pants in. Is it dirty? Yes. If you are worried about getting dirty, I need you to get over than right now because you WILL get dirty. You WILL NOT have access to a shower for 4 days. We’re all in this together, sister (or brother..).
Toiletries and My Extras
- Sunscreen
- Toothbrush and biodegradable toothpaste
- Biodegradable baby wipes (remember, no showers!)
- Biodegradable soap
- Travel size deodorant
- Extras: a book, a deck of cards, a favorite pair of Tevas, Toe warmers (if it’s winter time, trust me)

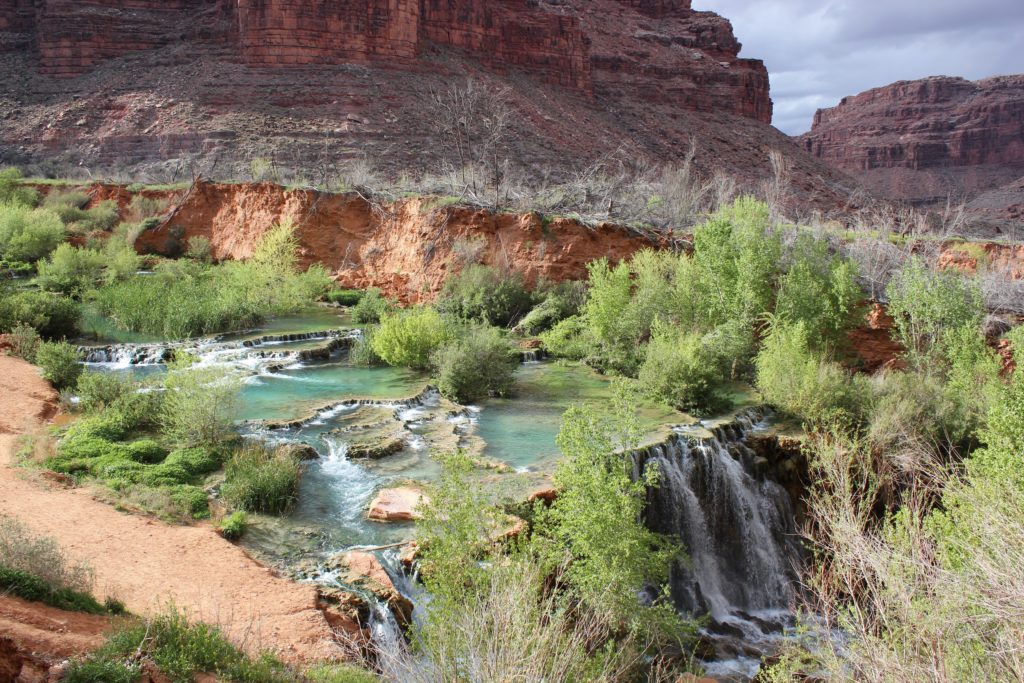
Navajo Falls 
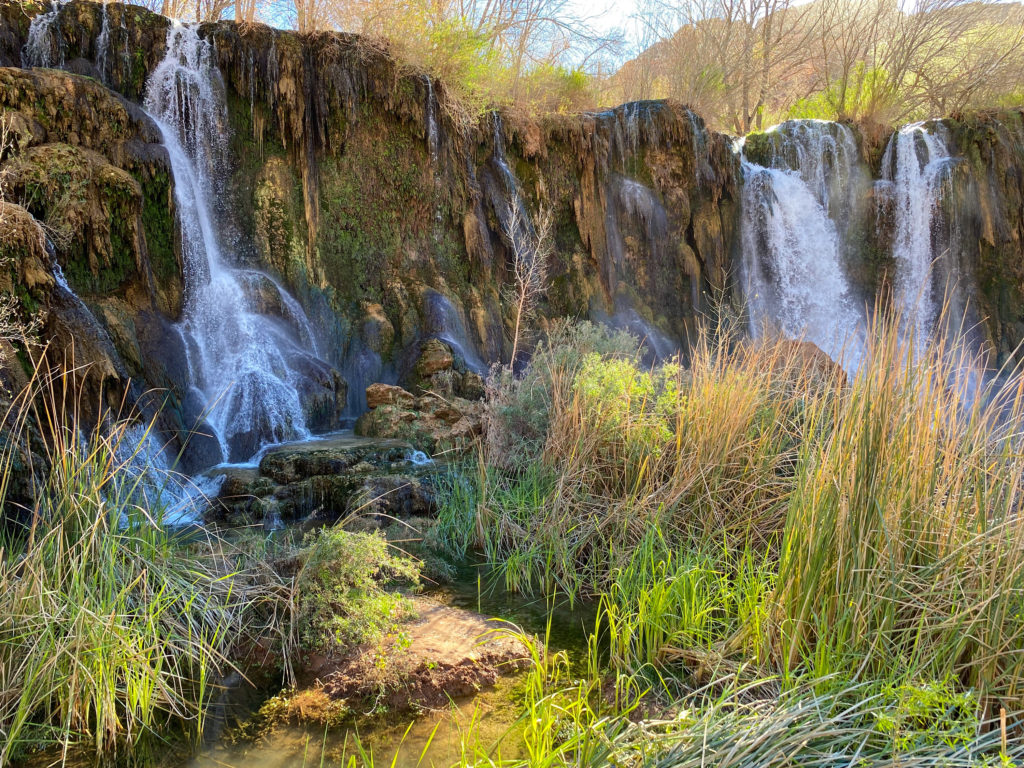
Fiftyfoot Falls
Happy travels, friends!
Yours,
Bohemian Postcards




2 Comments
Leave your reply.